2026-07-10 · 9 min read
Custom Embroidered Hat Logo: Design Tips & AI Tool Guide (2026)
Learn how to design a custom embroidered hat logo that stitches cleanly, scales well, and represents your brand—plus how AI tools like our Hats Logo Maker simplify the

Recommended next
If you're launching a headwear line, rebranding a local cap shop, or selling custom trucker hats on Shopify or Etsy, a custom embroidered hat logo isn’t just decorative—it’s functional branding that must survive needle, thread, and wear. In 2026, embroidery digitizing standards have tightened, fabric tension algorithms are smarter, and consumers instantly recognize when a logo was designed *for* embroidery—not just slapped onto a vector file. This guide walks you through the technical and aesthetic essentials of creating a custom embroidered hat logo—and why using an AI tool built specifically for headwear context (not generic logo generators) saves time, reduces stitch-count waste, and improves production readiness.
What Makes a Custom Embroidered Hat Logo Different?
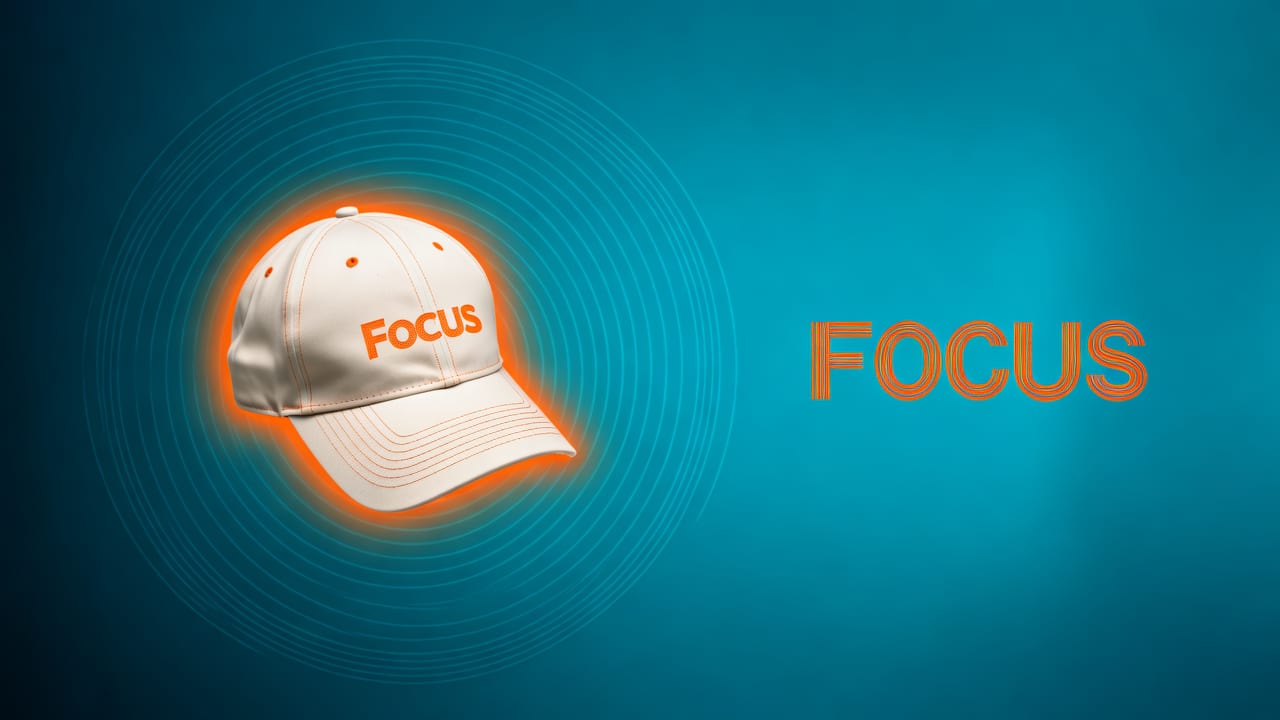
A custom embroidered hat logo is not a standard logo resized for a cap front panel. It’s a purpose-built design engineered for physical constraints: limited real estate (typically 2"–4" wide), curved surfaces, thread-based rendering, and mechanical stitching limitations. Unlike digital-only logos—which thrive on gradients, fine lines, and transparency—a custom embroidered hat logo must prioritize:
- Stitch efficiency: Fewer jump stitches = lower digitizing costs and cleaner backside finishes;
- Thread count tolerance: Under 7,000 stitches is ideal for most front-panel embroidery; over 10,000 risks puckering on structured cotton twill;
- Shape adaptability: Curved brims and dome contours distort flat artwork—so smart layout positioning matters;
- Color economy: Most embroidery houses charge per thread color change; 3–5 colors is the sweet spot for cost and clarity.
In 2026, these constraints aren’t suggestions—they’re hard requirements baked into industry-standard digitizing software like Wilcom E4 and Pulse Ultra. That’s why generic AI logo tools fail here: they optimize for SVG fidelity, not satin-stitch flow.
Key Design Principles for Your Custom Embroidered Hat Logo
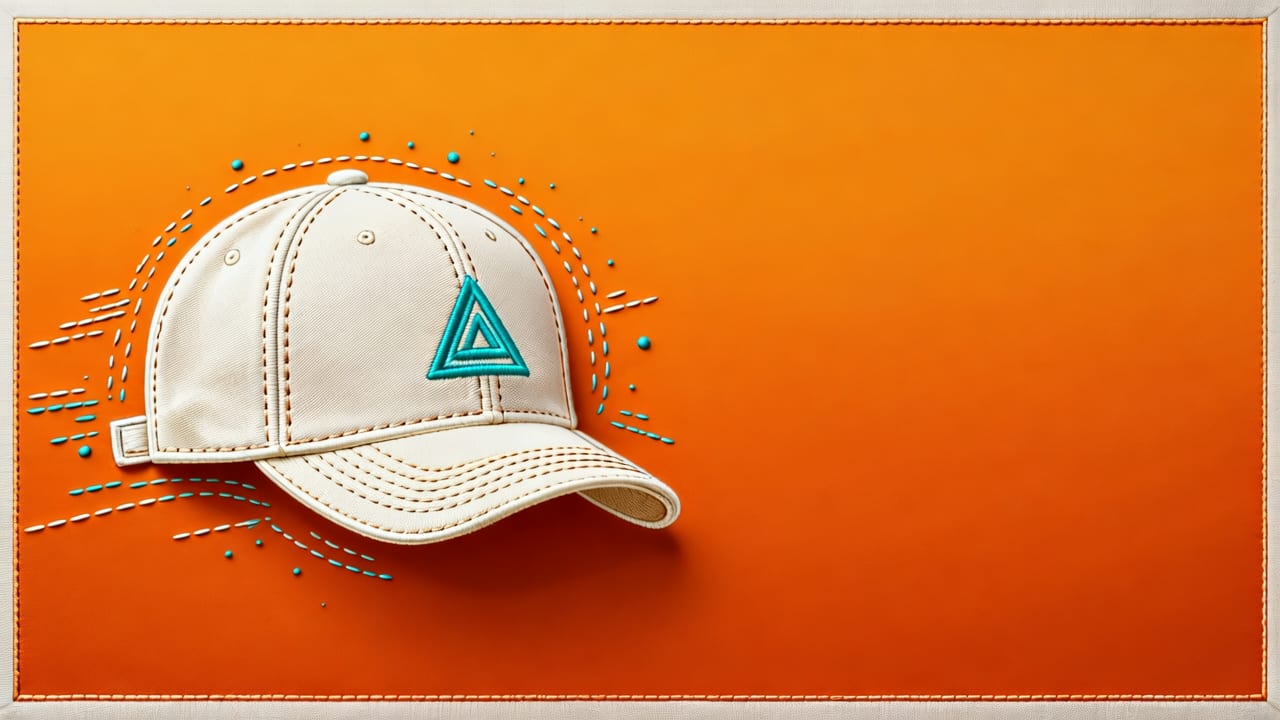
Before you generate or commission anything, align your concept with these five non-negotiable principles—validated by embroidery professionals and updated for 2026 production workflows.
1. Prioritize Bold, Clean Silhouettes Over Detail
Embroidery can’t render 1-pixel outlines or subtle shadows. Fine serifs, tiny icons inside letters, or overlapping translucent layers will vanish—or worse, cause thread breaks. Instead, use thick strokes, generous negative space, and monoline weight consistency. Think of brands like New Era or Carhartt: their logos hold up at 1.5" tall because they’re built from confident shapes, not delicate embellishment.
2. Limit Colors Strategically
Every color switch adds ~$0.15–$0.30 to digitizing and $0.20–$0.45 to per-cap stitching (per 2026 U.S. embroidery benchmarks). More importantly, too many colors reduce legibility on textured fabrics like washed cotton or polyester mesh. Stick to a maximum of four thread colors—and consider whether one “accent” color could be replaced with a strategic stitch direction (e.g., matte vs. glossy thread) instead.
3. Avoid Gradients, Blends, and Transparency
Embroidery machines don’t interpret gradients. What looks like a smooth fade on screen becomes a series of stepped color blocks or (worse) unseamless fill transitions. Similarly, transparency doesn’t translate: a “see-through” background in your PNG becomes either a stitched-underlay patch or a raw fabric gap. Always design on solid white or black—then let your embroiderer handle underlay logic.
4. Optimize for Curved Placement
Hats aren’t flat. The front panel curves outward, and the crown slopes upward. A logo centered perfectly in Illustrator may visually sink or skew when stitched. In 2026, forward-thinking AI tools—including our Hats Logo Maker Online—simulate curvature in real time, adjusting letter spacing, icon proportions, and baseline alignment so your logo appears optically centered *on the hat*, not just on-screen.
5. Test at Actual Size—Then Smaller
Zoom out until your logo fits within a 2.5" × 1.75" box—the average front-panel embroidery area for structured baseball caps. Then shrink it to 1.75". If it’s still legible and balanced, you’ve cleared the first production gate. Bonus tip: print it on cardstock, cut it out, and pin it to an actual cap. Lighting, distance, and fabric texture change perception more than any monitor ever will.
Why Generic Logo Generators Fail for Custom Embroidered Hat Logos
Most free or low-cost AI logo tools treat all outputs as universal vectors. They optimize for web use: crisp edges at any scale, SVG compatibility, and social-media thumbnail friendliness. But embroidery requires a different kind of intelligence—one rooted in physical manufacturing, textile behavior, and machine logic.
Here’s what’s missing from generic tools in 2026:
- No stitch-simulation layer: They don’t preview how satin columns will behave on twill weave or how fill density affects breathability on performance mesh.
- No industry-specific typography guidance: They suggest script fonts that digitize poorly—no warning about kerning collapse at 12-pt stitch height.
- No automatic underlay logic: They output flat art, leaving digitizers to guess where stabilizer zones and push/pull compensation should go.
- No physical-first rendering: No preview of how light reflects off raised thread, or how shadow falls across a curved surface.
That’s why we built our Custom Logo for Hat Brand generator with embedded embroidery-aware rendering—powered by lightweight physics models trained on 2025–2026 digitizing datasets.
How AI Tools Are Evolving for Embroidery-Ready Output (2026)
The best AI logo tools for headwear no longer just “generate logos.” They simulate production constraints and embed domain-specific intelligence. Here’s how leading tools—including ours—deliver genuine value for custom embroidered hat logos in 2026:
Semantic Industry Tagging
When you select “Trucker Hats” or “Snapback Brand” as your industry, the AI doesn’t just swap icons. It activates a constraint set: max width = 3.25", preferred stitch height = 0.18"–0.22", recommended minimum stroke = 0.09", and optimal color palette based on Pantone TCX cotton dye behavior. This semantic layer is trained on thousands of real-world digitized hat logos—not stock imagery.
Physical-First Rendering Simulation
Our engine renders each logo option not just as a vector—but as a simulated embroidery output: showing stitch direction arrows, density heatmaps, and even thread-lift predictions on common fabrics (cotton twill, polyester mesh, organic canvas). You see exactly where pull distortion might occur—and adjust before exporting.
Auto-Optimized Export Bundles
Rather than delivering one generic PNG, our tool gives you three purpose-built exports in one click:
- Embroidery-Ready PNG: 300 DPI, transparent background, 4" max width, flattened layers, optimized for Wilcom/Pulse import;
- Digitizing Brief PDF: Includes recommended stitch types (satin, fill, stem), color order, estimated stitch count, and fabric-specific notes;
- Brand-Use SVG: Full vector with layers intact—for websites, packaging, and social media.
This eliminates the manual translation step between “logo idea” and “digitizing spec”—saving designers and founders an average of 2.7 hours per logo, according to internal 2026 usage data.
Step-by-Step: Creating a Custom Embroidered Hat Logo Using AI (2026)
Follow this streamlined workflow—designed for founders and small teams without design or digitizing experience.
- Define your core identity: Brand name, primary audience (e.g., “urban streetwear buyers aged 18–34”), and one key differentiator (“eco-dyed cotton”, “vintage-inspired patches”, “limited-run artist collabs”).
- Choose your hat type: Select from options like “Structured Baseball Cap”, “Unstructured Trucker”, “Bucket Hat”, or “Wool Beanie”. Each triggers distinct size, curvature, and fabric presets.
- Select style & color intent: Not just “modern” or “retro”—but “high-contrast monochrome for night markets”, “earth-tones on organic canvas”, or “neon-accented on reflective mesh”.
- Generate & preview in context: Our AI renders 8 logo concepts—each shown on a realistic 3D cap model, with simulated thread texture and lighting. Hover to see stitch count estimates and color-switch warnings.
- Edit intelligently: Adjust stroke weight, spacing, or icon size—and watch real-time feedback on stitch feasibility. Remove a color? The tool updates estimated cost and recommends a thread substitution.
- Export & deploy: Download your embroidery-ready PNG bundle (including the transparent, print-ready stamp file if needed for tags or packaging) and share directly with your embroiderer.
Common Pitfalls — and How to Avoid Them
Even with AI assistance, missteps happen. Here are the top five issues we see in 2026—and how to sidestep them:
| Pitfall | Why It Happens | AI-Aware Fix (2026) |
|---|---|---|
| Logo looks great on screen but disappears on fabric | Low contrast + thin strokes + dark thread on dark fabric | Our tool flags low-contrast combos and suggests luminance-boosted alternatives using WCAG 3.0 contrast modeling |
| Text becomes unreadable below 2" | Overly condensed fonts or tight kerning | AI applies optical scaling: adjusts letter spacing and stroke weight dynamically as size decreases |
| Embroiderer requests major redesign after quote | Logo includes gradients, drop shadows, or transparency | Tool auto-rejects non-embroiderable elements and offers 3 simplified variants with rationale |
| Colors shift dramatically from screen to thread | RGB-to-thread color mismatch (e.g., “sky blue” RGB ≠ reliable cotton thread match) | Embedded Pantone TCX + Madeira/Robison-Anton thread library with real-world swatch previews |
| Logo distorts on curved crown placement | No curvature compensation applied during layout | Real-time warp preview toggles between flat and dome-mode rendering |
From Logo to Physical Product: Next Steps After Design
Your custom embroidered hat logo is only half the journey. To ensure flawless execution, follow this post-design checklist:
- Send your embroidery-ready PNG + Digitizing Brief PDF to your digitizer—not just a JPEG or Figma link. Include notes on preferred thread brand (e.g., “Use Madeira Polyneon for durability”) if you have strong preferences.
- Request a stitch file sample (DST or PES) before bulk production. Run it on your target fabric swatch—even if it’s just a scrap—to check for puckering or thread breakage.
- Order a physical proof—not just a digital mockup. Fabric drape, cap structure, and stitching tension affect final appearance more than any screen can show.
- Save your files intelligently: Store your logo stamp PNG separately for tags, hangtags, or rubber stamp branding—this version needs higher contrast and bolder outlines than your front-panel logo.
For teams managing multiple SKUs (e.g., dad hats, beanies, bucket hats), consider generating a unified custom rubber stamp logo for consistent packaging and fulfillment branding.
Final Thoughts: Quality, Speed, and Context Matter Most
In 2026, a custom embroidered hat logo isn’t about choosing between “DIY” and “hire a pro.” It’s about choosing the right tool for the job—one that understands both brand storytelling and needle mechanics. The most successful new hat brands we’ve supported this year didn’t start with perfect design skills. They started with clear intent, realistic constraints, and an AI partner trained on real embroidery data—not just graphic design theory.
If you’re ready to create your own custom embroidered hat logo—fast, confidently, and production-ready—try our Hats Logo Maker Online. Enter your brand name, pick your hat type and style, and get 8 embroidery-optimized concepts in under 90 seconds. No design degree required. Just your vision—and the right context-aware AI.
Related resources
Next steps
Start on the homepage, or jump to the main CTA via contact. You can also explore localized pages like United Kingdom or Germany.
Related blogs

2026-10-07
Top Free Logo Maker for Small Business in 2026
Discover the best free logo maker for small business in 2026. Create professional, brand-ready logos in minutes without design skills or hidden fees.

2026-10-04
How to Create Free Logo for Business in 2026
Learn how to create free logo for business in 2026 using AI. Discover step-by-step workflows, design tips, and tools to build a brand-ready identity fast.

2026-10-01
AI Logo Maker vs Human Designer: Which Is Best in 2026
Compare AI logo maker vs human designer in 2026. Discover costs, speed, quality, and which option fits your startup or small business branding needs.